
Written by the StreamX Editorial Team — Updated October 2026
Getting IPTV is easier than setting up cable: no technician, no contract and no box rental. But if you have never done it, the jargon — M3U, Xtream Codes, EPG, sideloading — can make it feel complicated. This step-by-step guide walks you through the whole process in plain English, from checking your internet to watching your first live game, in about 30 minutes.
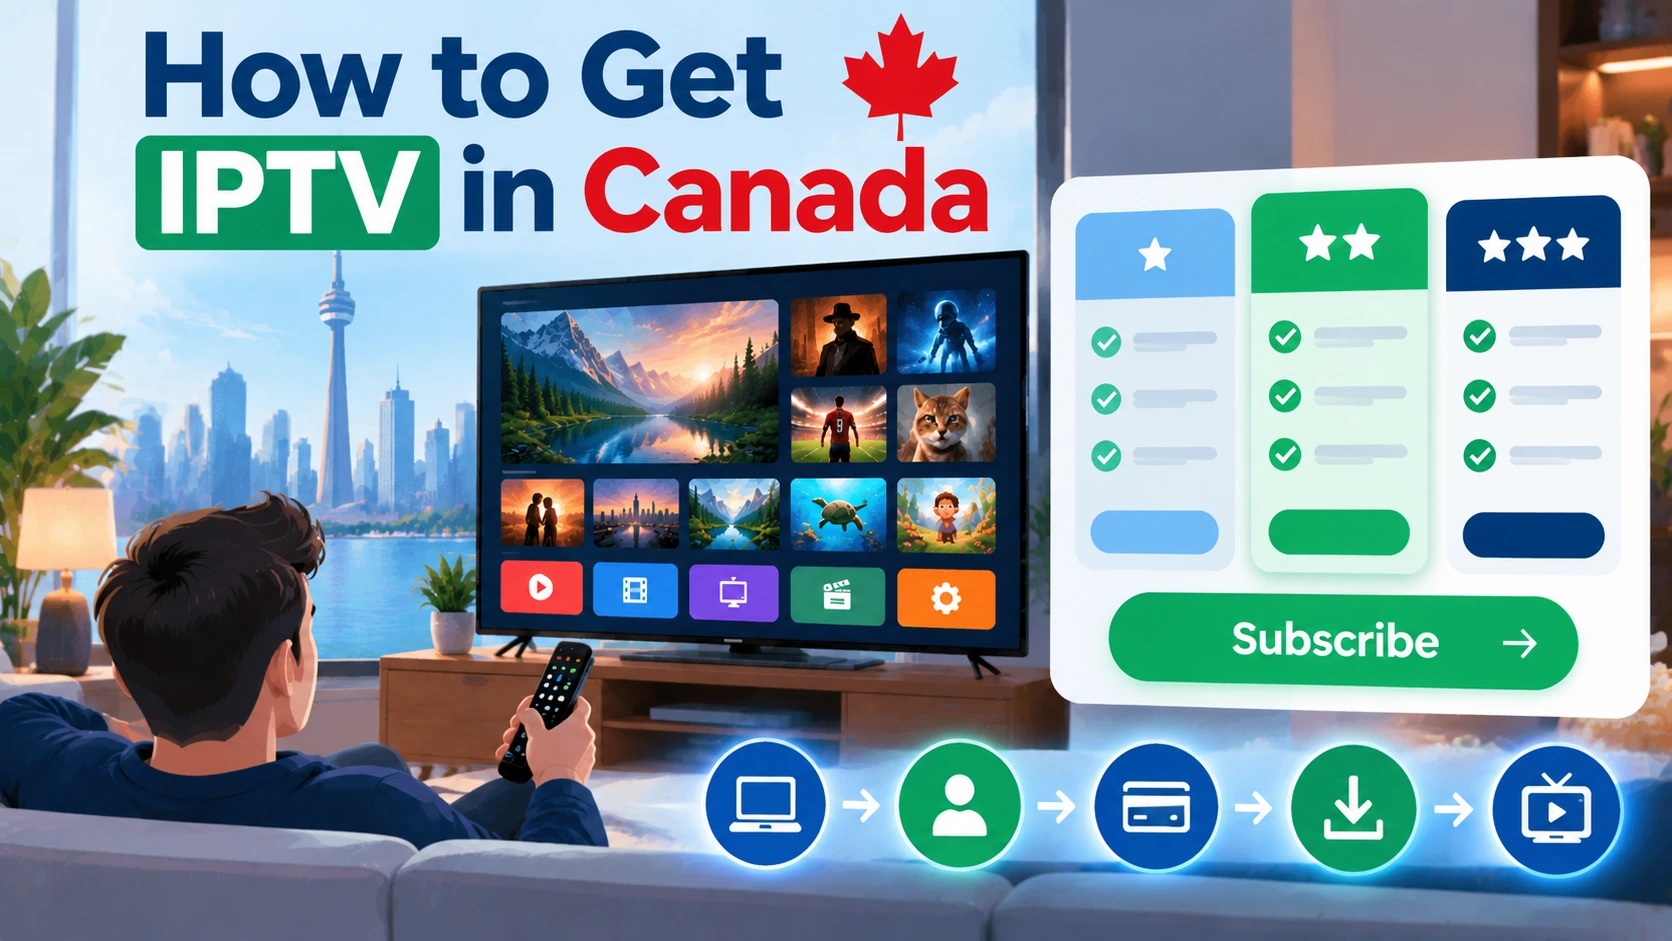
Quick answer: (1) Check you have about 15 Mbps per screen, (2) choose a device — a smart TV, Fire TV Stick or Android box, (3) install an IPTV player app, (4) pick a trustworthy provider, (5) test it with a free trial, (6) subscribe with the right number of screens, and (7) set up favourites and the TV guide. With StreamX, you can start with a free 24-hour trial — no credit card needed.
Step 1: Check Your Internet Connection
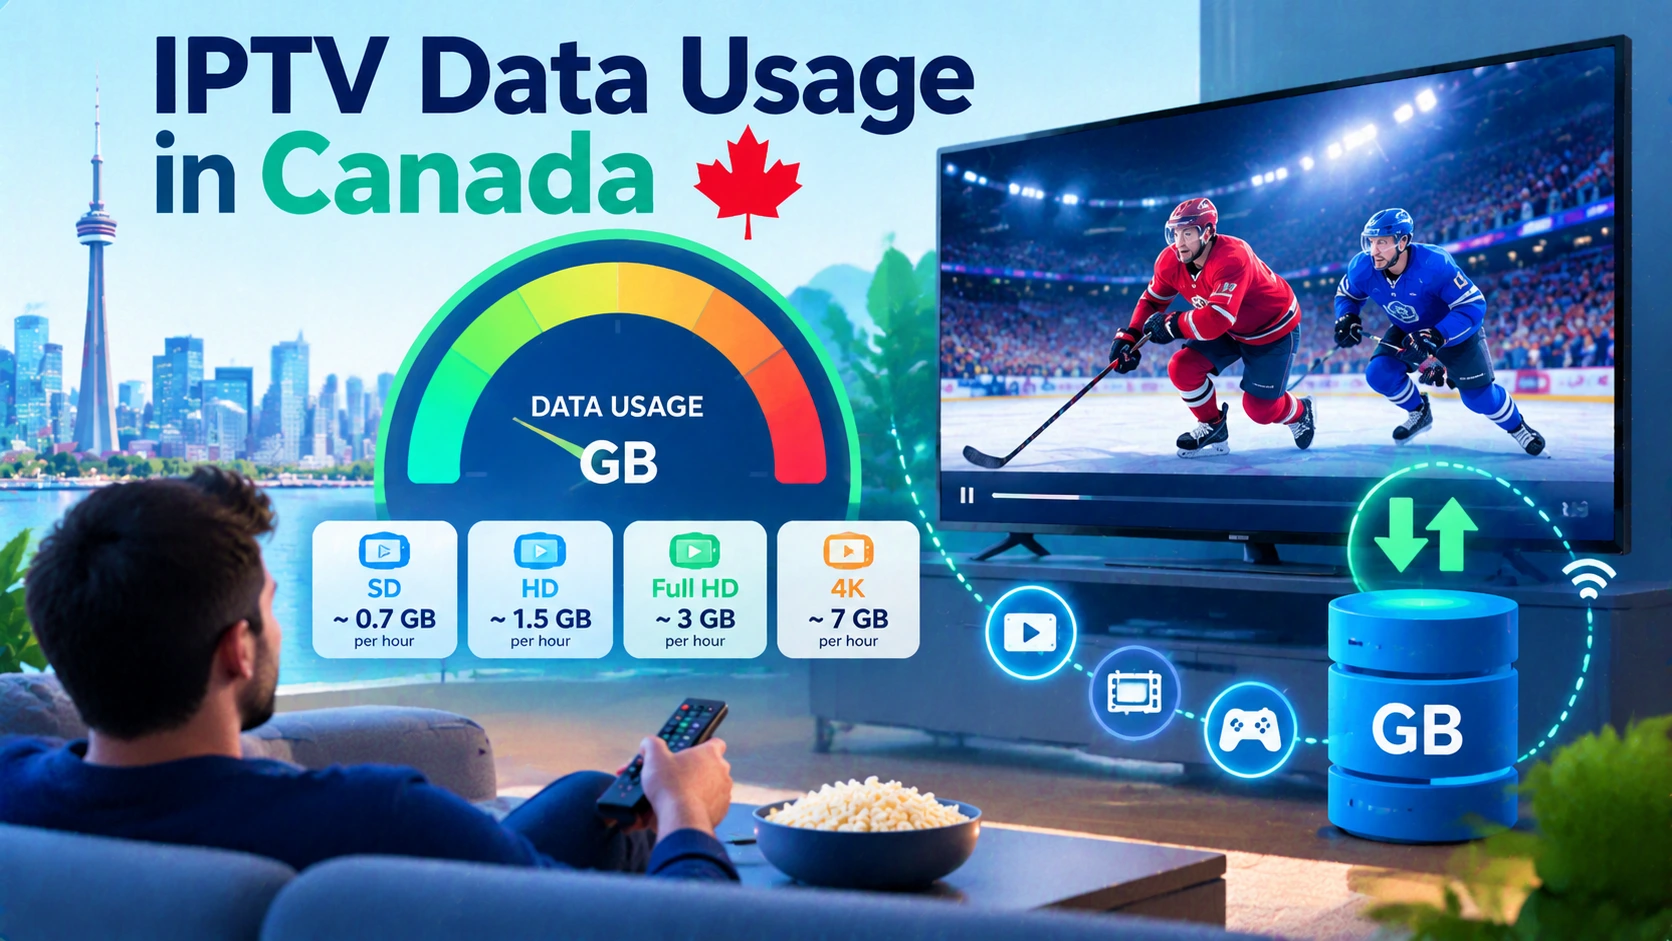
IPTV streams over your home internet. You need roughly:
- SD: 3–5 Mbps per screen
- HD: 10–15 Mbps per screen
- 4K: 25 Mbps or more per screen
Run a test on Speedtest in the evening, when networks are busiest. Most Canadian cable and fibre plans are more than enough. More detail in our guide to internet speed for IPTV.
Step 2: Choose Your Device
| Device | Best for | Guide |
|---|---|---|
| Fire TV Stick 4K Max / 4K Plus | Easiest, most popular | Firestick guide |
| Android TV / Google TV box | Wired connection, power users | Android box guide |
| Samsung or LG smart TV | No extra hardware | Smart TV guide |
| Apple TV, iPhone, iPad | Apple households | Apple TV guide |
| Computer | Home office, students | Windows and Mac guide |
Buying a stick? Avoid Vega OS models like the Fire TV Stick 4K Select if you want to install TiviMate — see our best Firestick guide.
Step 3: Install an IPTV Player
A player app turns your subscription into a channel list and TV guide. The two most popular:
- IPTV Smarters Pro — simplest for beginners.
- TiviMate — most cable-like, on Android TV and Fire TV. See our TiviMate setup guide.
Compare them in Smarters Pro vs TiviMate or browse all options in our best IPTV player guide.
Step 4: Choose a Trustworthy Provider
This is the most important decision. Look for a no-card free trial, traceable payment, a published refund policy, responsive support and sustainable pricing. Avoid “lifetime” deals and gift-card-only payment. Our 10-point provider checklist walks you through it, and our guide to licensed vs unlicensed IPTV explains the legal landscape (general information, not legal advice).
Step 5: Test With a Free Trial
- Request the trial and wait for your login email (server URL, username, password).
- Open your player, choose Xtream Codes login and enter the details. Unsure? See M3U vs Xtream Codes.
- Check your must-have channels — local news, sports feeds, kids’ channels, international channels.
- Watch a live game between 7 and 11 p.m.
- Send support a question and see how quickly they reply.
Step 6: Subscribe With the Right Plan
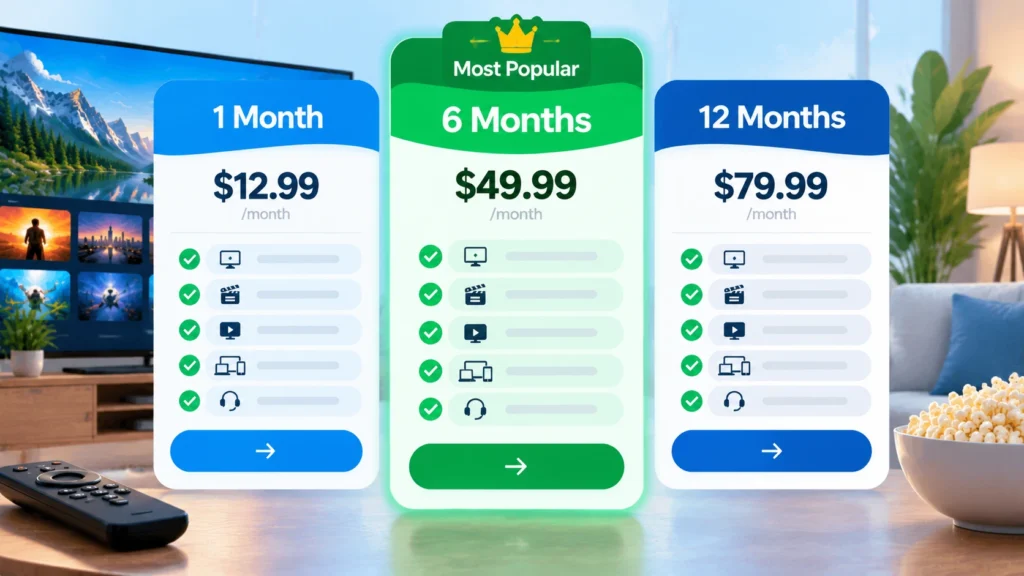
Choose the number of screens based on how many people watch at the same time, and the term based on how confident you are:
| Plan | 1 month | 12 months |
|---|---|---|
| 1 device | CAD 19 | CAD 79 (~$6.58/mo) |
| 2 devices | CAD 29 | CAD 129 (~$10.75/mo) |
| 4 devices | CAD 49 | CAD 199 (~$16.58/mo) |
Full options, including 3-device and 3- and 6-month plans, are on our pricing page. Our cheap IPTV guide explains how to get the best value.
Step 7: Set Up Favourites and the TV Guide
- Favourites: add your top 20–40 channels so you are not scrolling through thousands.
- Hide categories you will never watch.
- TV guide: make sure programme times match your time zone — see our EPG guide.
- Parental controls: lock mature content with a PIN — see our parental controls guide.
Common Mistakes to Avoid When Signing Up
- Chasing the lowest price. A service promising every channel worldwide for a couple of dollars is the biggest red flag. Fair pricing is modest, not impossibly cheap — see our cheap IPTV guide.
- Skipping the trial. Always test your own channels and devices on a short trial before paying for a long plan.
- Paying a year up front with a brand-new provider. Start monthly and commit longer only once it proves reliable.
- Ignoring your internet. Buffering is usually the connection, not the service — check our internet speed guide first.
- Using odd payment methods. Prefer traceable, mainstream payment over gift-card or crypto-only options.
Avoid those and a reliable IPTV subscription in Canada takes only minutes to set up.
You’re Done — Now What?
Once everything works, you can cancel cable (check your contract’s cancellation terms first). If anything goes wrong, our troubleshooting guides cover buffering and IPTV not working. Living in a specific city? See local guides for Toronto, Montreal and Calgary.
Frequently Asked Questions
How do I get IPTV in Canada?
Check your internet speed, choose a device, install an IPTV player, pick a trustworthy provider, test with a free trial, subscribe with the right number of screens and set up your favourites and TV guide.
What do I need for IPTV?
An internet connection of about 15 Mbps per HD screen, a compatible device such as a smart TV, Firestick or Android box, an IPTV player app and a subscription.
Do I need a technician to install IPTV?
No. IPTV is set up by installing an app and entering your login details, which takes about 15 to 30 minutes.
How long does it take to set up IPTV?
Most people are watching within 30 minutes, including installing the app and loading channels.
Can I try IPTV before paying?
Yes. StreamX offers a free 24-hour trial with no credit card required.
How much should an IPTV subscription cost in Canada?
Fair pricing is modest but not suspiciously low. If a plan is a fraction of everyone else’s, be cautious. Our cheap IPTV guide breaks down what realistic pricing looks like and what to avoid.
Can I keep my subscription if I switch devices?
Yes. Your subscription is tied to your login (an Xtream line or M3U URL), not the device, so you can move it to a new Firestick, box or phone by entering the same details in your player.